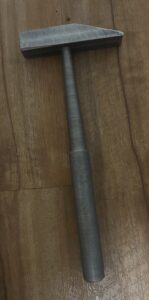
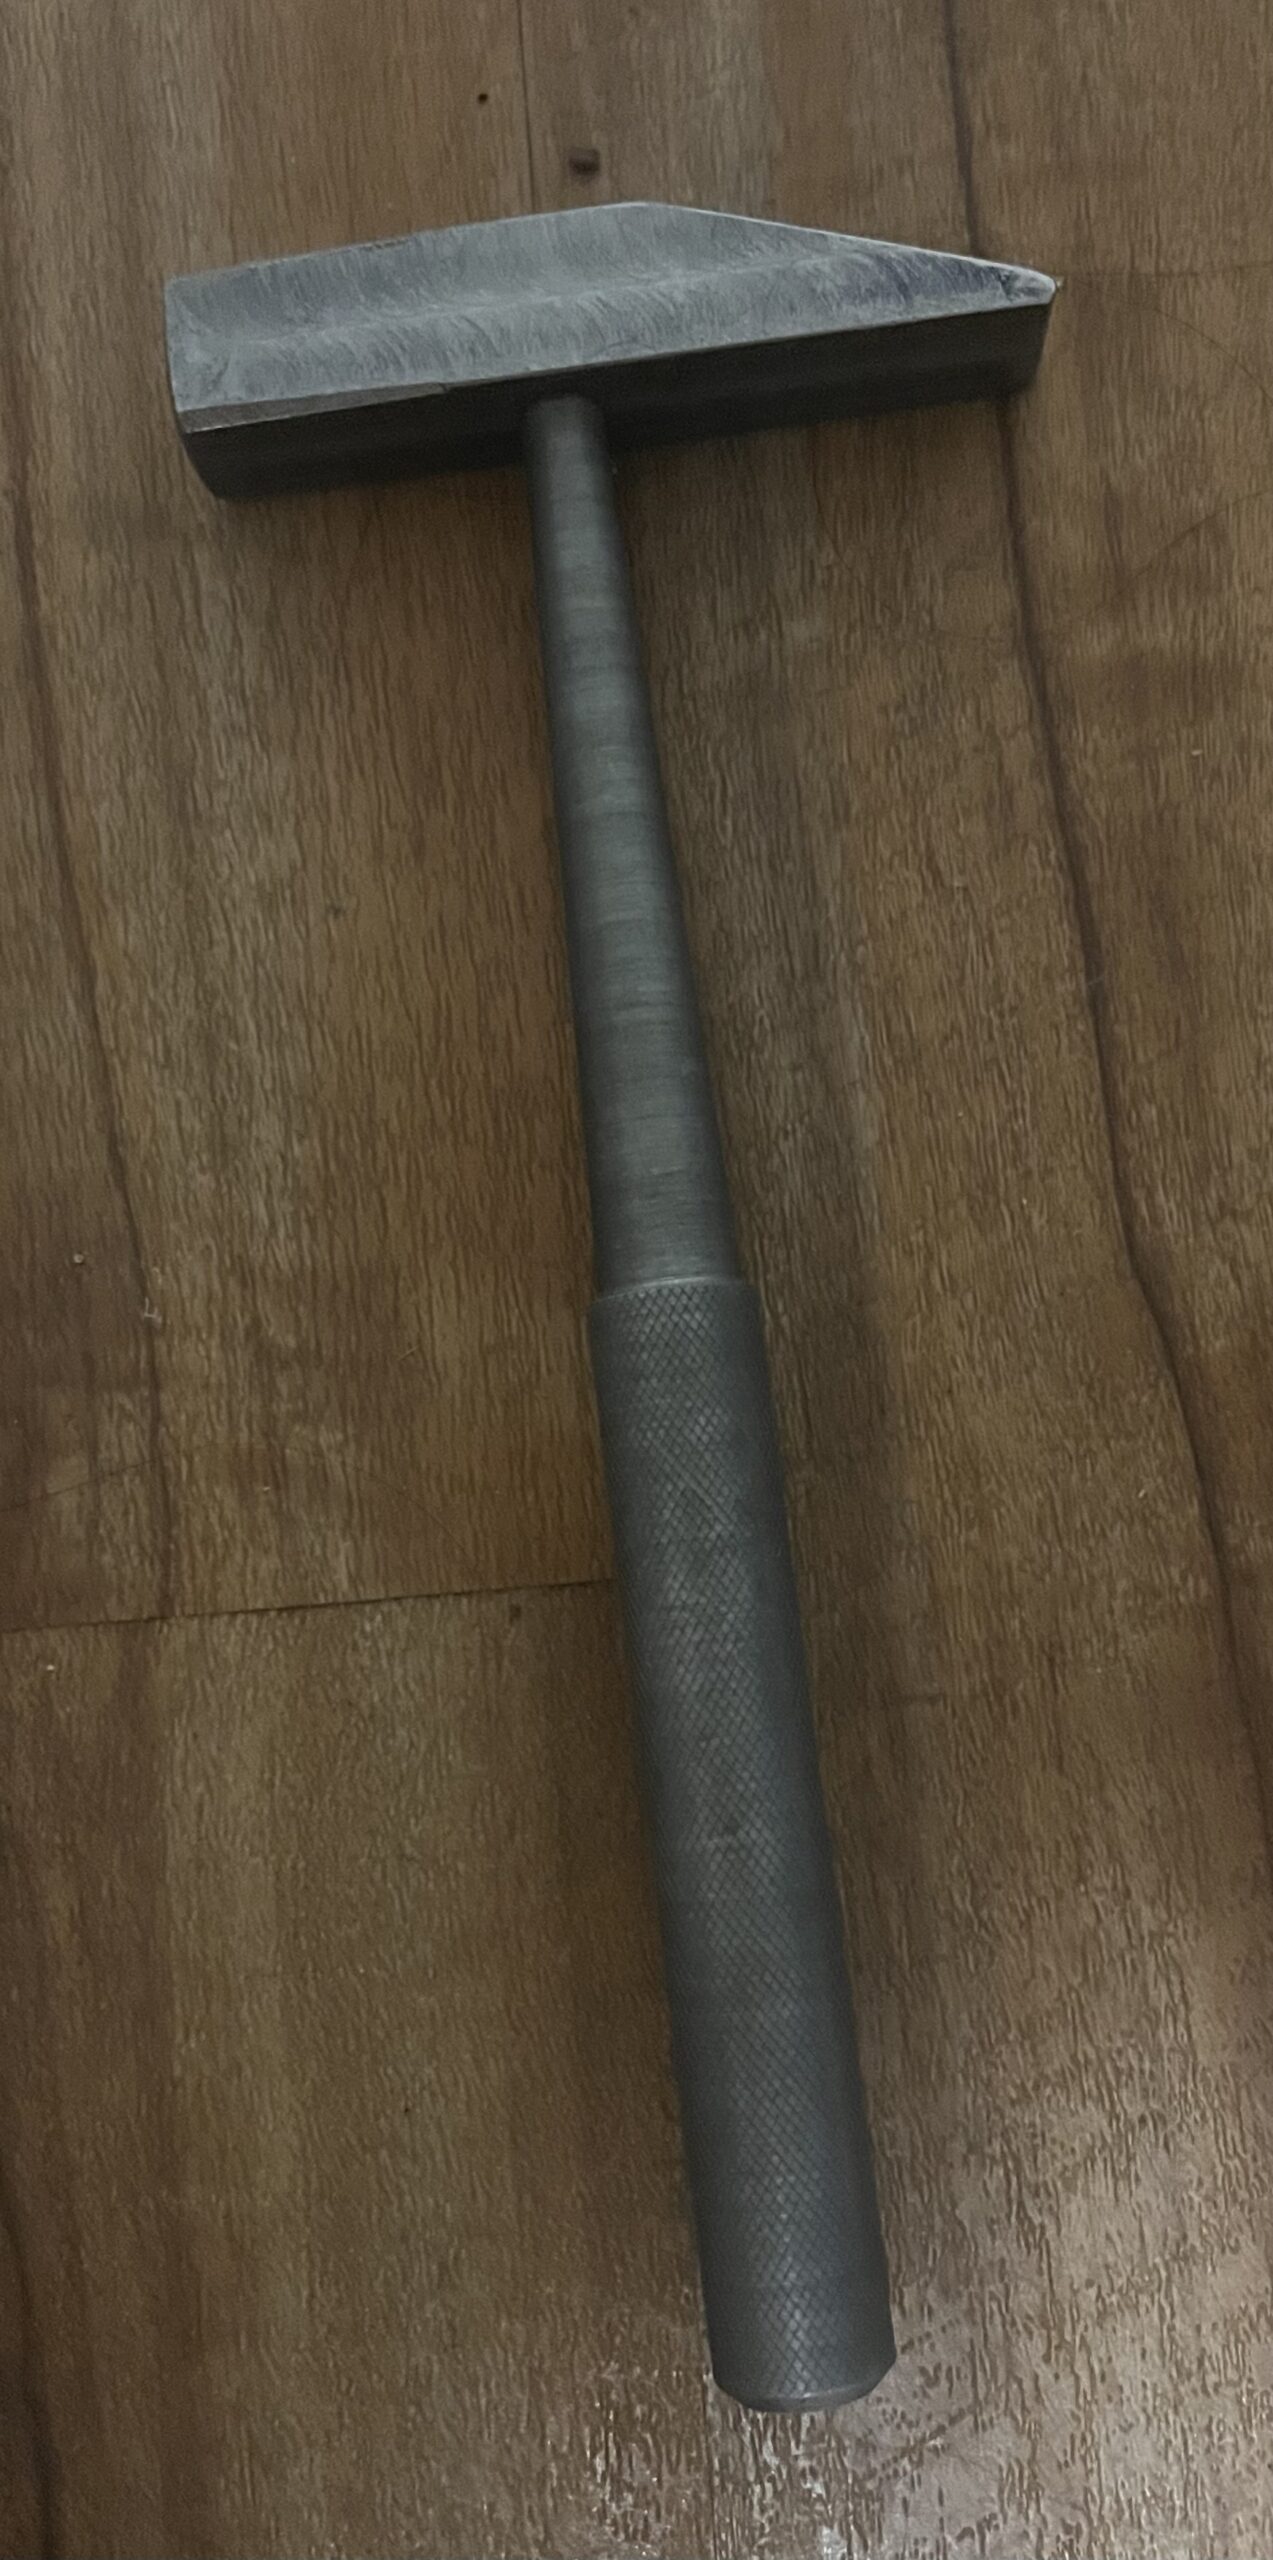
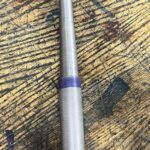
Okay, so this is neither aviation or music, but I thought that you all would probably want an update on my machining project. I finished my hammer! It seems totally insane that I made most of it by myself. Machine shop was probably one of my favorite classes this past semester even though we only met once a week for two hours. I just love the hands on aspect of everything. I loved the repetition of everything that allowed me the time to progress my skills at what I was doing.
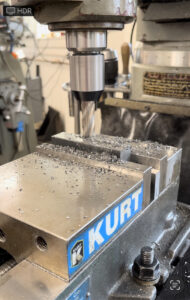
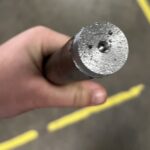
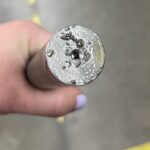
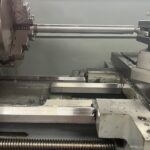
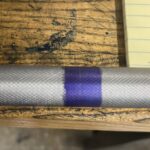
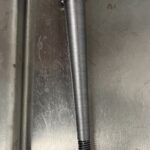
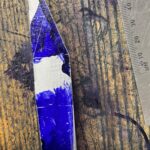
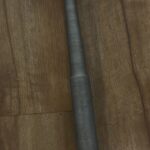
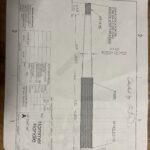
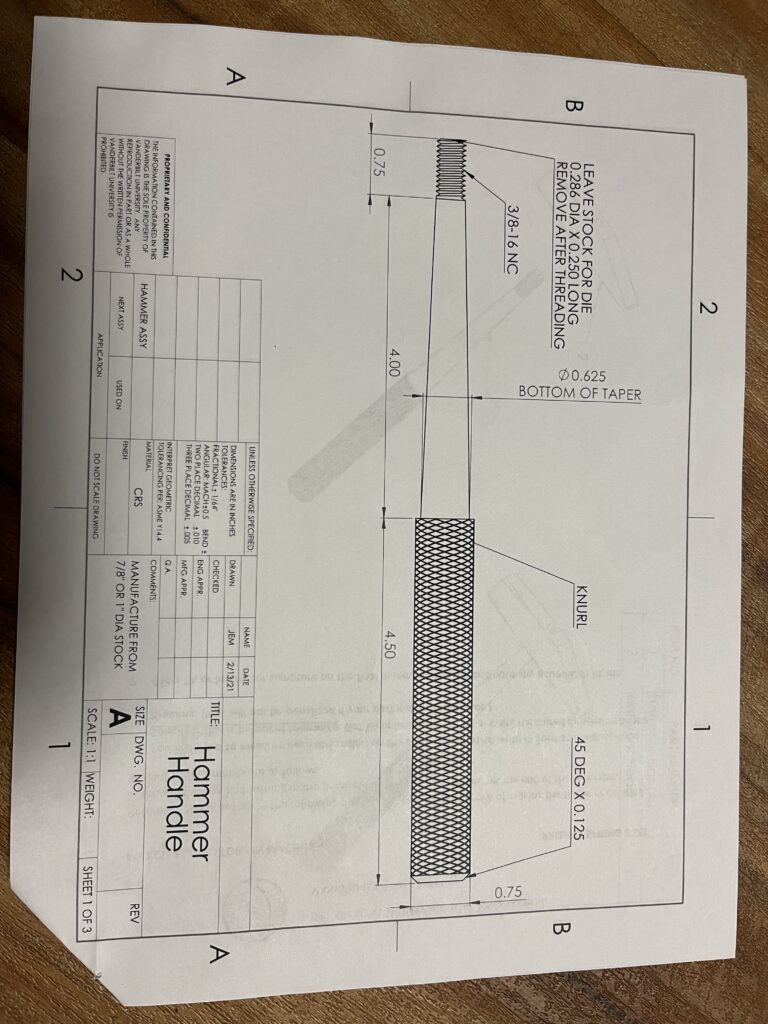
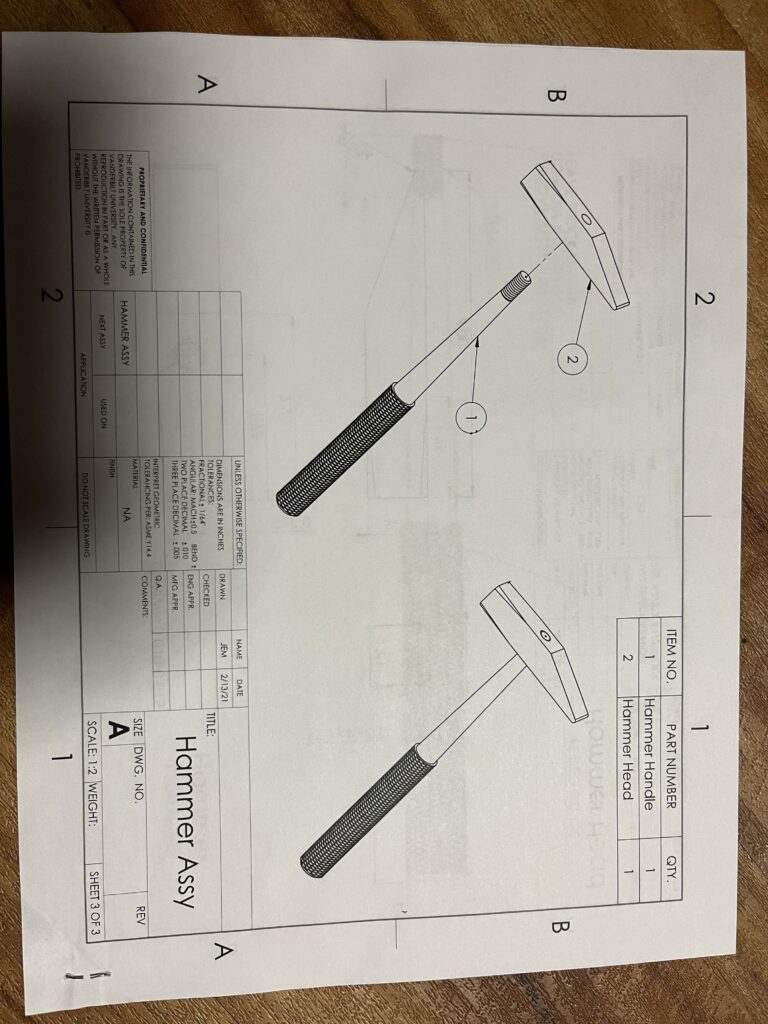
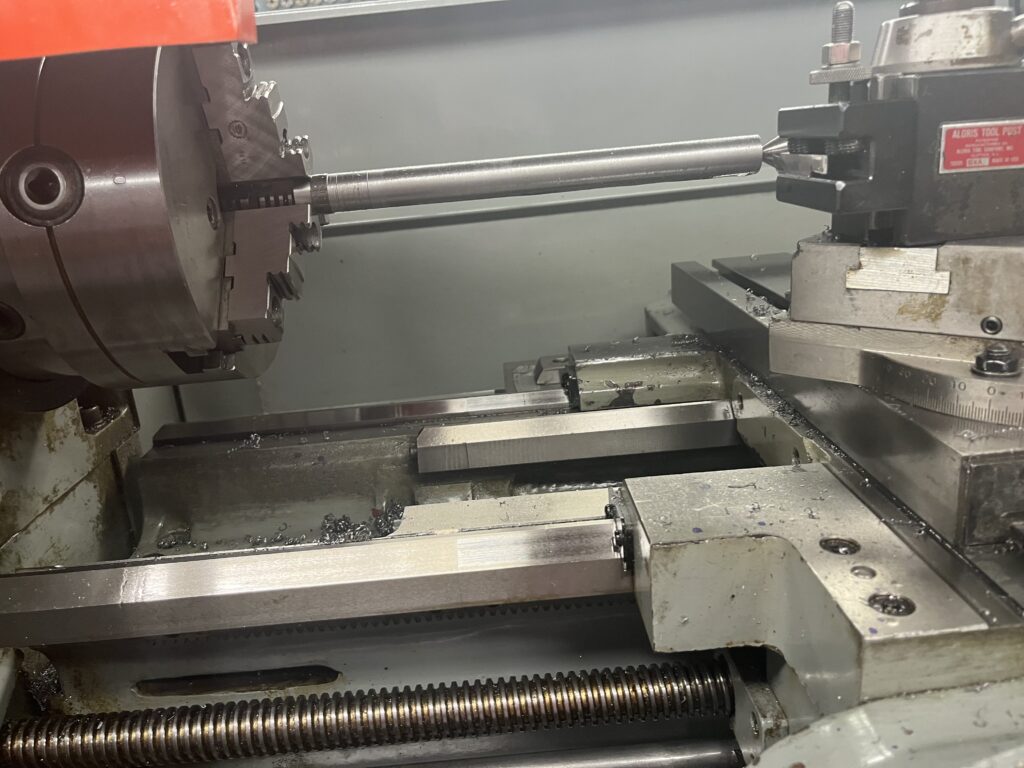
As a recap of the project, I used a lathe to make the handle of the hammer out of a steel cylinder. I used a mill to create the head of the hammer out of a steel rectangle. I then put it together by screwing them together, using both a tap and a die. On the lathe and the handle, I felt like I had a decent amount of time to finish everything that needed to be done and was almost always satisfied with the outcome. The timeline for the head and putting everything together was a different story. Unsurprisingly it took me a while to learn and understand how to use the mill. Due to that I was stuck facing the sides of my rectangular block for a few weeks to get the proper size rectangle that I wanted. One thing that was especially frustrating was trying to do the finishing on the rectangular block. For most of the sides, I couldn’t get a smooth finish like I wanted. This was because the tools that were using were rather “well used” and too dull to get a cleaner finish. One solution for this was to use a tool called a fly-cutter, which has a much wider radius as a tool on the mill, but gets a better finish. Another con of this fly-cutter is that it takes more time to set up. So, on some of my sides I got a clean finish with the fly-cutter, but on other sides, the finish could be more clean.
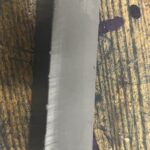
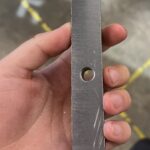
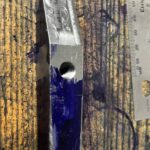
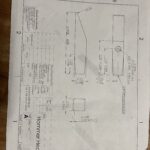
The last 3 weeks of class though, I did a lot with my hammer. I learned how to do placement to put a whole in the middle of my hammer head for the screw of the handle that was going to go in later. I went to the bandsaw to make a diagonal cut in my rectangle to start getting my desired shape. I then went back to the mill and did some placement magic that allowed me to get clean sides for the triangle that I cut off.
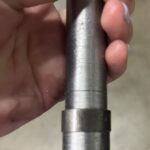
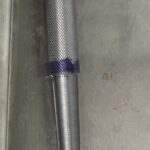
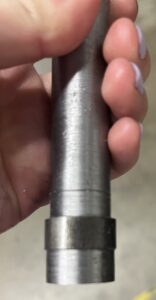
The last time I went in, I went in during my own time, so that I was sure I could complete everything else in one go. I learned how to use the belt sander, which, not gonna lie, I was intimidated by. With the belt sander I added most of the finishing touches and idiosyncrasies to my hammer. I used it to round out and smooth out the edges of my hammer head. Other tasks I had to do was the chamfer at the bottom of my handle and round out the hitting part of the hammer head. I rounded out the head by putting it in a clamp and using a file. To get more smoothness, after this was done, I used a special cloth on it. I did the chamfer by using the lathe. I then used the belt sander to take off a little length on the other end of my handle that I needed so that the lathe could clamp onto something earlier.
And, with that I was basically done. I screwed the two pieces together to make sure they worked. It was almost perfect, I just took off a little too much length on my handle. I used special glue to keep the parts screwed together. Then I put wax on to keep it from rusting or whatnot, using a cloth soaked in wax that dried onto it.
I have yet to find an occasion to use my hammer yet, but I am super stoked and proud of how far I have come.
In my next post, I will give you an update on my flying and how music has been going for me lately.
Cheers,
Jovie
Here are some photos of my progress in chronological order.
